Table of Contents
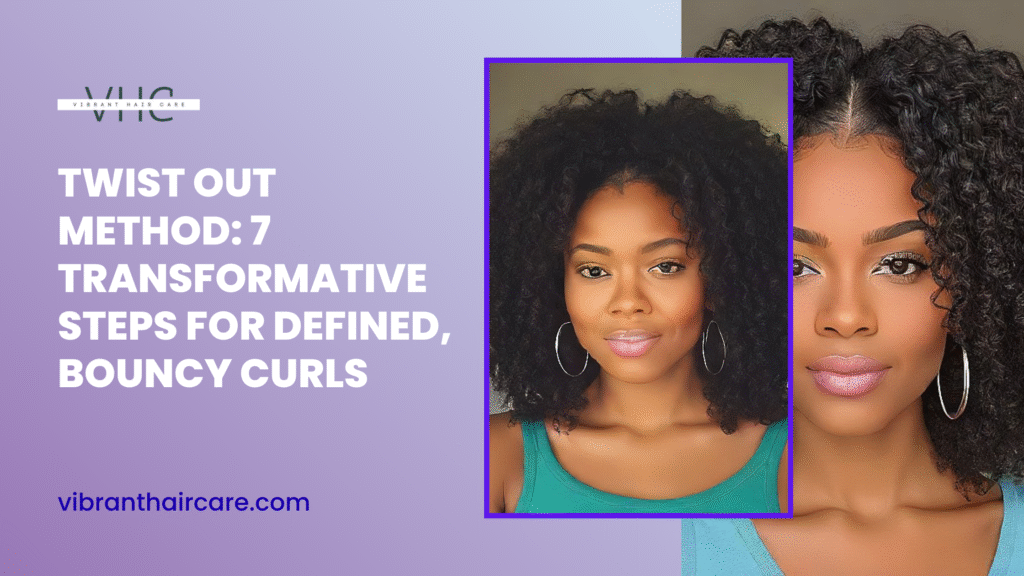
Introduction: Why the Twist Out Is the Holy Grail of Natural Styling
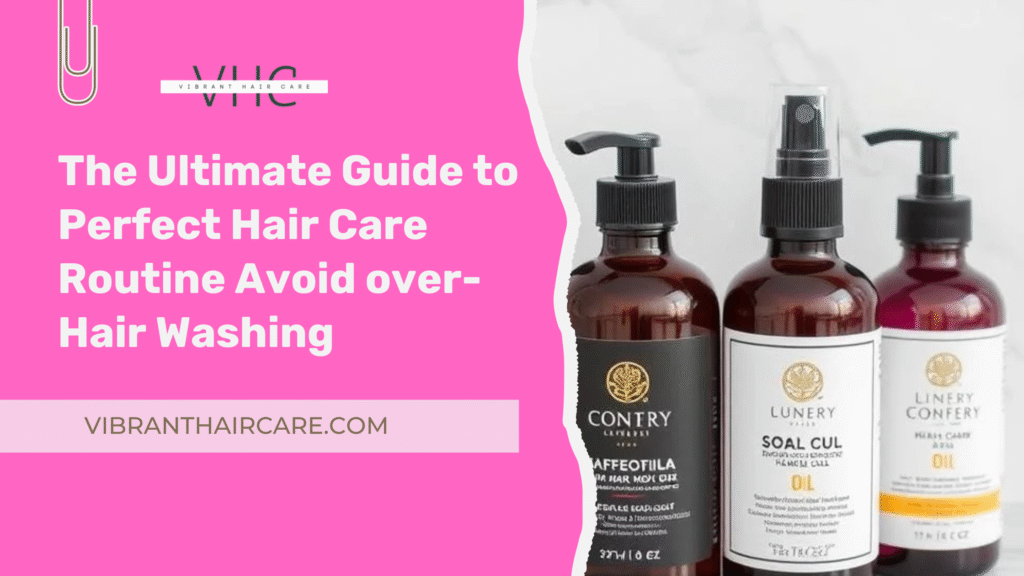
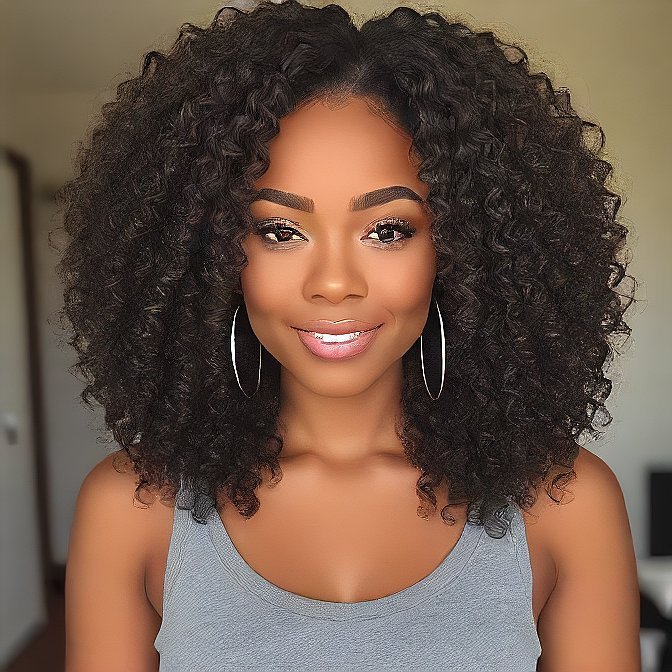
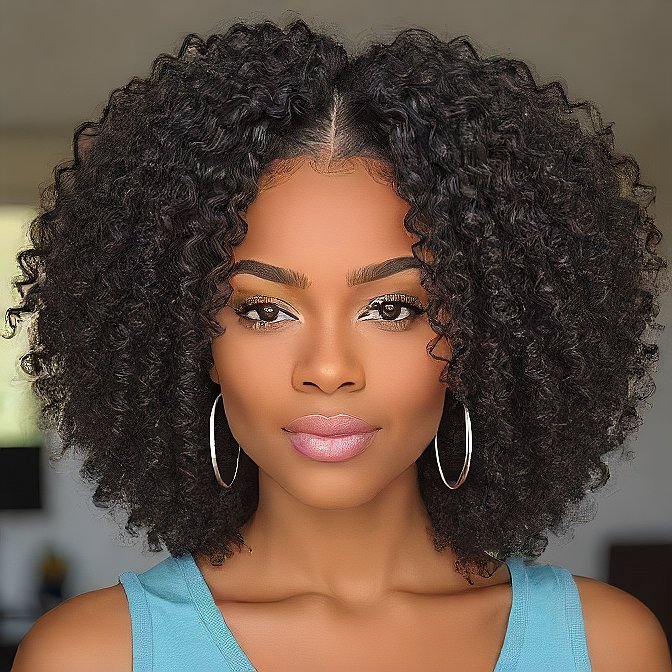
When it comes to natural hair care, few styles are as beloved and versatile as the twist out. Whether you’re working with curls, coils, or kinks, this classic method is a go-to for anyone looking to define their texture, reduce shrinkage, and rock a look that turns heads.
What is so special about a twist-out? First of all, it has the best balance between definition and volume. Twisting your hair when wet or after moisturizing your hair and untwisting when it is dry will leave you with long, frizz-free, up-to-date hair that appears soft, bouncy, and lousy. And since twist outs do not involve heat or cumbersome styling, they are one of the most harmless to your hair means of having your hair in its natural texture with no fuss.
The other significant advantages are:
- Low manipulation: less day-to-day styling = less breakage
- Stretching the hair aids in lessening shrinkage and tangles
- Versatility: It can be carried on several days or retwisted into updos, puffs, and others
Below, one can find the 7 changing steps according to which it is possible not only to have a great twist out but also a consistently good one. We are covering just about everything you need to know in order to get long-lasting, defined, and touchably soft curls every time, including what to do to prep your strands to ensure the perfect take-down.
1. Start Fresh: Cleanse and Condition for Success
The perfect twist out starts on a clean slate. Beginning with clean hair, heavily conditioned hair provides definition, bounce, and lasting results in materials. The buildup of products, dryness, or dirt may lead to frizz, and your curls are unable to take shape well when doing the twists.
Wash your hair with a sulfate-free shampoo that will not deprive your hair of the essential oils but nurture it instead. The second step is to use a deep conditioner that is rich in moisture to soften and strengthen your curls, and it must get your hair ready to be manipulated.
Pro Tip: When you are still conditioning your hair, use a wide-tooth comb or your fingers to help you ease out a lot of the tangles, but always section by section. This helps to diminish snap off, and the twisting process becomes simpler and even later.
2. Don’t Skip the Leave-In: Moisture = Definition
Unless your hair is well moisturized prior to the twisting process, you most likely will leave with dull and frizzy curls. That is why leave-in conditioner is a must in any twist-out regime. It moisturizes your hair, assists in moisture retention, and prepares the stage on which the definition of the curls will be achieved.
Lighter leave-in exists, and you must select the one as far as fine curls or looser locking systems; otherwise, they can drag your hair down. To style thicker and kinkier hair, choose a creamier leave-in that will enable it to be more hydrating and hold and hold.
Layering is key here:
- Begin with your leave-in
- Apply a styling cream, curl butter, or twist gel
- Lock in everything by sealing with the light oil (jojoba or grapeseed, etc.)
It is this moisture + hold combination that makes your twist-out defined, soft, and long-lasting.
Check Out: Updo Techniques: 8 Elegant Styles That Instantly Turn Heads
3. Section Smartly: Divide to Conquer
In order to have balanced results and curls throughout, you have to section your head of hair wisely. Mismatched size or curls that have not dried or twisted areas due to random or uneven parts.
Begin by separating into 4-8 giant, up to medium-sized pieces (thicker heads of hair have more divisions). Band and clip down each to make your hair manageable. Next, smaller subsections (approximately 1/2 to 1 inch in width) are to be taken to get the process of twisting started. The thinner the part, the closer and specific the curl will be. Thicker pieces produce looser, fluffier waves.
Pro Tip: Have a spray bottle of water to hand to rewet areas you are working on. Twisting on air-dried or whole-made frizz and unbalanced texture can be obtained.
4. Twist It Right: Technique Matters
Your twist out can be as good as your twisting technique. It is not only gluing two strands together, it is about creating the pulls, continuity, and selecting the procedure that will be most appropriate to your hair.
Flat Twist vs. Two-Strand Twist:
- Two-Strand Twist: The most common one- divide a part of the hair into two and twist it together.
- Flat Twist: Twisting down the scalp (like the cornrows). This provides increased stretch and definition, lending itself to tighter textures or low manipulation styles.
To get smooth, frizz-free results:
- Separate the individual parts and then twist
- Tie very securely near the bottom and preserve a clean, even tension along its length
- With fingers roll the ends to a finished coat
Pro Tip: Twist it all in one direction (i.e., clockwise) to look consistent and consistent after it is unraveled.
5. Dry Completely Before Unraveling
It is worth waiting: braiding out the twists when they are not yet dry is the number one pitfall of twist-outs. Wet hair will frizz in a second, and the curl shape will not last.
You have two drying options:
- Air Drying: This is perfect when you do not need to do much damage using heat. May require 812 hours, or overnight.
- Hooded Dryer or Blow Dryer with Diffuser: Accelerates the process without damaging it, just make sure not to keep it at high temperature.
Nighttime Protection Matters:
- To avoid sleep frizz and protect moisture, wrap your twists in a satin scarf or bonnet
- Wearing a satin pillow case or a silk one would also serve as an additional protection when you sleep
6. The Take-Down: Unravel Without the Frizz
Undoing your turns is important as creating them. A single bad step can cause a well-formed curl to be transformed into a ball of fuzz.
Here’s how to do it right:
- Lightly grease your fingertips with an oil or serum (such as argan or grapeseed)
- With light tension, untwist every turn – never jerk it or hurry
- To achieve e larger amount of volume, part each strand of the curl more, but only after you have determined where the hair tends to part itself naturally.
Shaping Tips:
- Pick or hands to volumes: and uproot the roots
- Fluff and edit around your face to naturally put a frame around it
- Don’t over-manipulate, the more separation, the more volume, the more risk of frizz, too
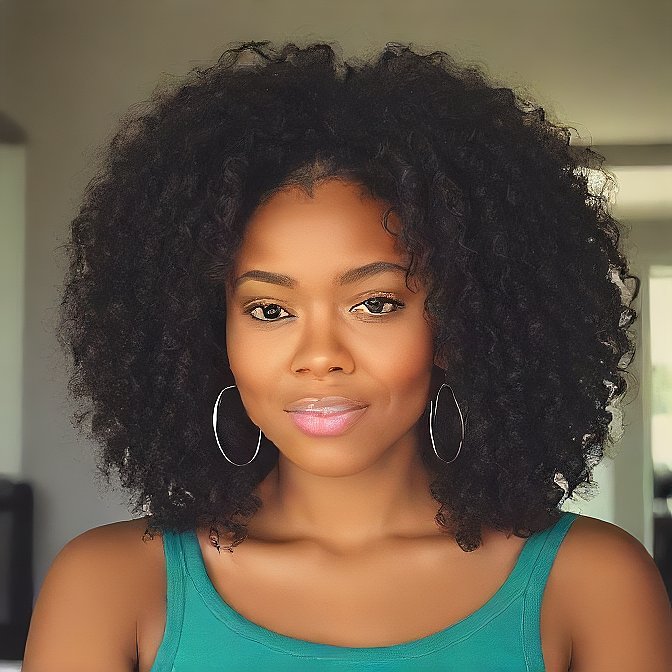
7. Fluff & Finish: Volume, Style, and Hold
After your twists have been completely unraveled and separated, you are ready to take your twist to a new level: volume, shape, and final touches.
- Back Brushing: Back brush using a hair pick/ wide-tooth comb, to make the roots out at the top and the sides. Leave the curls alone and concentrate on the foundation to give it lift and bulk.
- Hold It Down (Lightly): To have a lasting hold on the shape and definition of your curls without stiffness, spray a lightly holding solution, sprays of curl refresher, or an alcohol-free sticky gel. This will make your style stay in place all day, keeping it smooth to the touch.
Style It Your Way:
- Change around your part (middle, side, or zig-zag) to make a change quickly
- Decorate with hair clips, scarves,o r gold cuffs to create the desired trendy, personal feeling
- Tug portions into a half-mad updo or puff to prolong the look a few days
This is the fluff-and-finish step, the step where your personality and the creative you come out- this is where the style belongs to you.
Conclusion: Embrace Your Texture with a Perfect Twist Out
Twist out is not only a style, it is a statement to embrace your natural hair and a healthy protective regimen that will enhance your beautiful healthy curls.
So, the 7 steps that will help you to nail your twist out:
- Start Fresh, clean and condition well
- Deep Conditioning- leave-in + layering method
- Even sections = even curls section Wisely = even sections
- Twist With Carefulness- tension and techniques are important
- Dry Fully- do not hurry it up
- Unravel Gently – reduce frizzy and strategic shape
- Fluff & Finish style it, volumize it and put your own spin on it
It is all about consistency. The twist out is the process that becomes your trademark with time, the proper products, and a dose of patience. Healthy rings, shaped curl, and glowing confidence all through your two hands.
For more info: Click Here.
FAQs About the Twist Out Method
Q1. How much does a twist out last?
A good twist out will last 3-7 days, depending on the type of hair you have, weather, and over night protection. It can be prolonged by pineappling, satin scarves or you can retwist at night.
Q2. Is it possible to use a twist out on dry hair?
Yes, you can, but it depends on the outcomes. Dry twist out results in minimal shrinkage and more volume, whereas, the damp one is likely to provide more definition. On dry hair add a light mist or a leave-in to prevent breakage.
Q3. Which products are the most definining to twist outs?
Seek out moisturizing creams, twisting gels or curl butters which provide hydration and hold. Ingredients such as shea butter, flaxseed gel, and aloe vera are good curl friendly ingredients that will lock in the definition.